Winter is an excellent time to tackle indoor chores, including touching up interior paint. Maybe your dog scratched the kitchen cabinet or you chipped the wall moving furniture. Now is the time to fix those and make them look brand new again.
Here are 3 important things to keep in mind when touching up interior paint:
1. Surface Preparation
Do not go straight to painting without preparing your surface. First, clean it with a damp cloth. Then, make sure the surface is even and smooth to the touch. If there are chips, sand them down or fill them with spackle/putty. Once everything is even, wipe with a clean damp cloth again.
2. Color Consistency
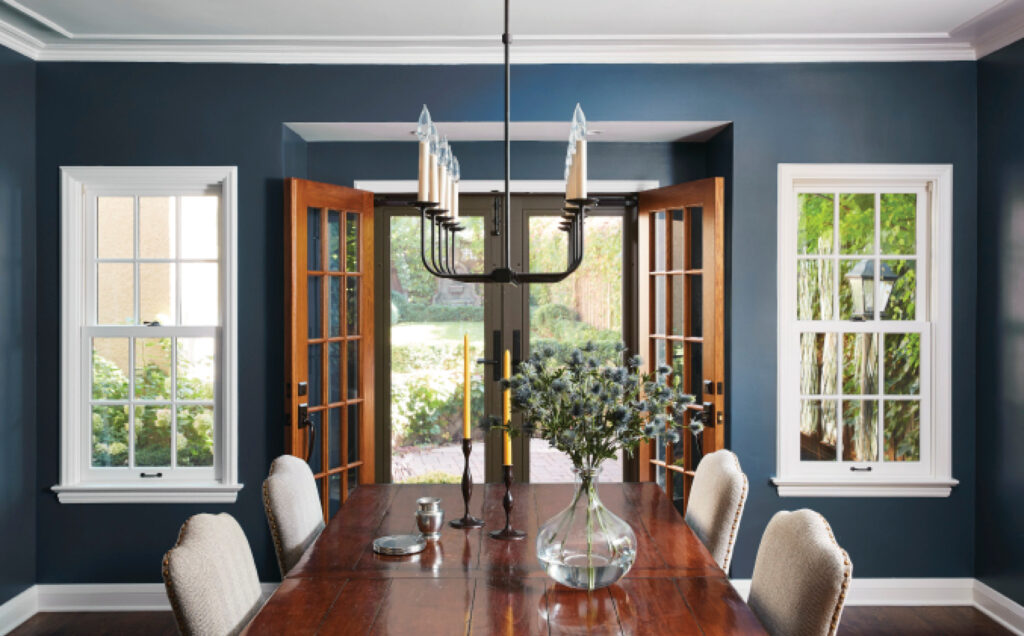
Photo by Emily John Photography
If you have the same paint can you originally used for the project, use it for the touch-ups. This is the best way to ensure the touch-up color matches the current color seamlessly. If you do not have the same paint, visit a hardware store that will do a spectrometer analysis to create the perfect color combination and sheen to best blend with what is already there.
Note: If you are purchasing new paint for a room or item, be sure to keep whatever is left over for future use.
3. Application Technique
Use the same kind of applicator you used when originally painting. Matching the technique used during the initial painting helps in achieving a consistent texture and finish. Whether it’s stippling, rolling, or brushing, replicating the method ensures that touch-ups seamlessly integrate into the surrounding areas.
If you are not sure what type of applicator was used, use a small roller. They offer a high level of control and precision, and the texture blends well on most surfaces.
Questions?
Connect with your Fazendin Realtor. They’re well connected and ready to assist you in finding you the right person to assist with all your housing needs. •